
Mixing & Mastering
Beginner Producer Setup List for First Tracks
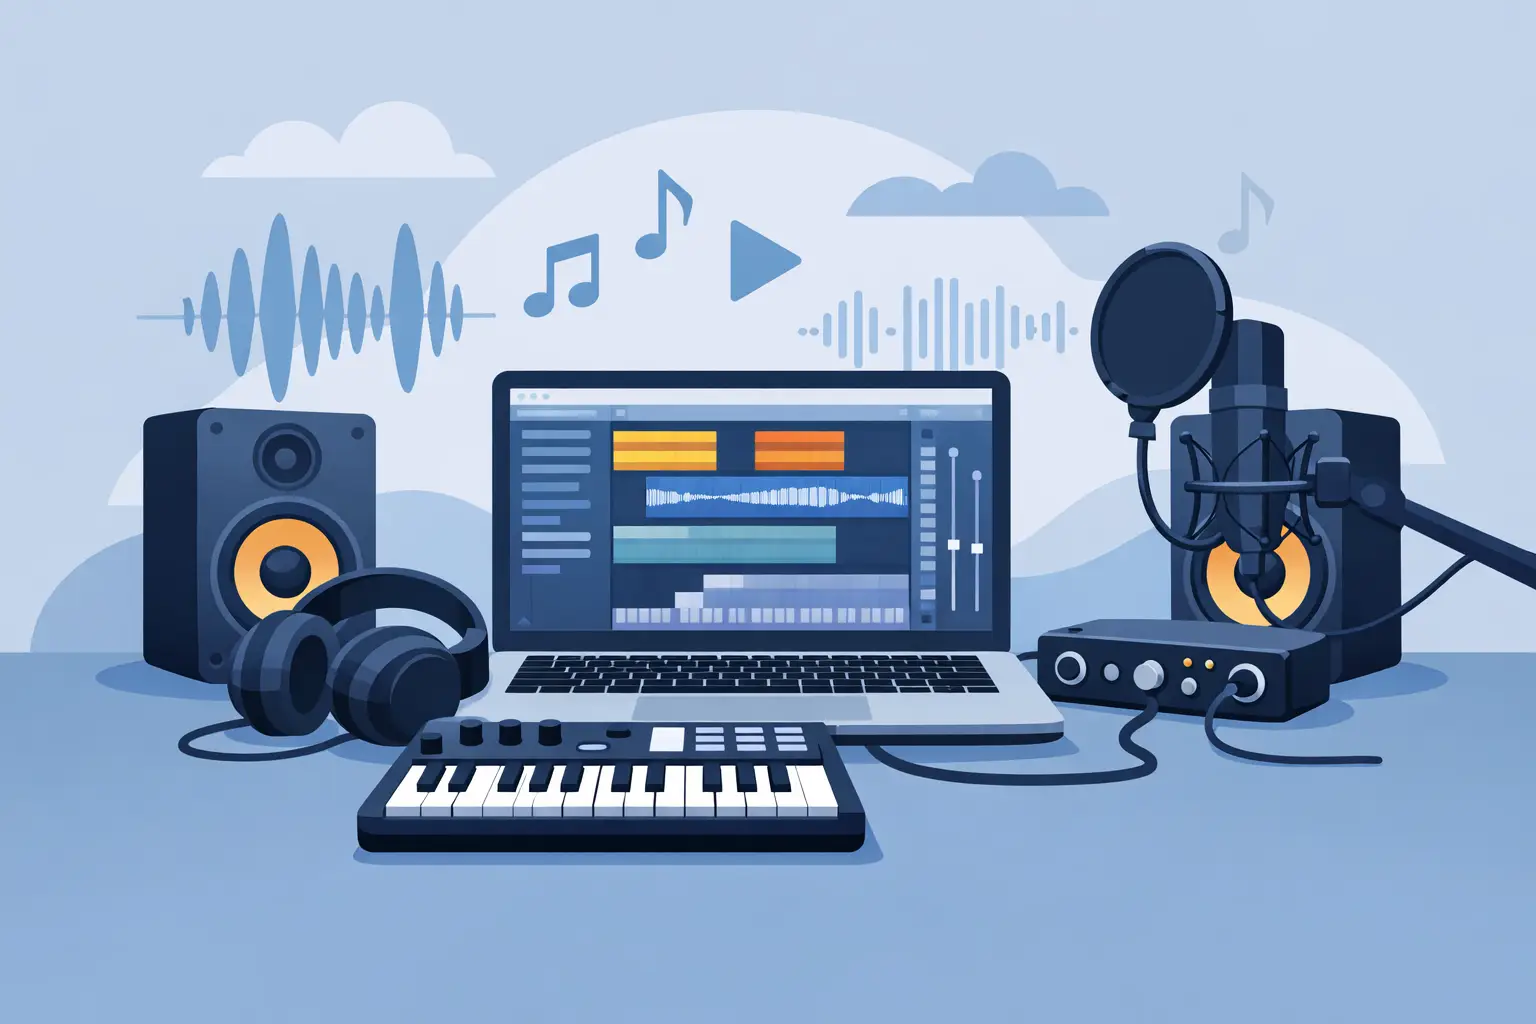
Your first track does not need a neon-lit studio, a wall of synths, or a credit-card boss battle. It needs a beginner producer setup list that helps you hear clearly, capture ideas fast, and keep making music when the first burst of excitement wears off.
The trap is buying gear to solve problems that practice solves better. A $2,000 setup will not arrange your chorus, teach you compression, or make you finish a beat. Start with a small, reliable loadout, then level it up only when a real creative problem appears.
Your Beginner Producer Setup List: The Core Gear
A functional starter studio has five jobs: run your music software, let you hear decisions, get audio into the computer, create musical ideas, and reduce distractions. You can handle those jobs with a laptop or desktop, a DAW, headphones or monitors, an audio interface, and a MIDI controller. A microphone is useful, but it is not mandatory on day one.
1. A computer that does not interrupt the session
Use the computer you already own if it can run your chosen DAW without constant crashes, glitches, or painfully slow loading. For most beginners, 16GB of RAM is a comfortable target, especially if you plan to use sample libraries and software instruments. Storage matters too. Keep your projects and samples on a drive with room to breathe, because a full drive is an annoying mini-boss nobody asked for.
Mac or Windows can both work brilliantly. The better choice depends on the DAW you want to learn, your budget, and what feels familiar. Logic is Mac-only, while Ableton Live, FL Studio, Cubase, Studio One, and Pro Tools work across more than one ecosystem. Pick the path that makes you want to open the software tomorrow, not the one that wins an internet argument.
2. One DAW, learned deeply
Your digital audio workstation is your production headquarters. It records audio, hosts instruments and effects, arranges your song, and exports the final file. Every major DAW can make professional music. The biggest difference for a beginner is workflow.
Try a few demos or free versions if possible, then commit to one for a while. Bouncing between five DAWs is like accepting five quests and completing none. Learn how to create tracks, program drums, record MIDI, arrange sections, use EQ and compression, automate a parameter, and export a song. Those actions transfer to every platform later.
Free tools can be a strong starting point. Just be honest about the trade-off: a limited version may restrict the number of tracks, instruments, or export options. If those limits stop you from finishing ideas, that is a useful reason to upgrade. If you are still learning where the play button is, the free version is probably enough.
3. Headphones first, monitors later
You need a dependable way to hear your choices. If you produce in a bedroom, dorm, apartment, or shared space, closed-back studio headphones are often the smartest first purchase. They are affordable, private, and useful for recording because they leak less sound into a microphone.
Studio monitors can be great, but they are not magic speakers. In an untreated room, bass reflections and strange resonances can make a mix feel bigger or thinner than it really is. That can lead to bad decisions, especially in the low end. Start with headphones, compare your work on earbuds, a car stereo, or another familiar speaker, and build your listening skills before chasing expensive monitors.
When you do add monitors, place them at ear level in an equilateral triangle with your listening position. Keep them away from corners if you can. You do not need to turn your room into an acoustic dungeon immediately, but some basic treatment and better speaker placement can matter more than a pricier monitor model.
4. A simple audio interface
An audio interface connects microphones, instruments, and studio headphones to your computer with better control and lower delay than a basic headphone jack. For a solo beginner, a compact interface with two inputs, phantom power, a headphone output, and balanced monitor outputs is usually plenty.
The key word is latency. When you press a MIDI key or sing into a mic, you want to hear the result quickly. A good interface and correctly chosen buffer settings help reduce that lag. You do not need a rack full of preamps to make a strong first demo. You need one interface that behaves every time you press record.
5. A MIDI controller that invites play
A small MIDI keyboard is not essential, but it can make production feel far more musical. You can tap out chords, bass lines, melodies, and drum patterns instead of drawing every note with a mouse. Twenty-five to forty-nine keys are enough for most first setups, especially when desk space is limited.
Pads, knobs, and faders are nice bonuses, not requirements. If drum pads make you want to build beats, get them. If you mainly write piano parts, prioritize keys with a comfortable feel. Choose the controller that supports your natural habits, because the best gear is the gear that gets touched.
Optional Gear: Add It When the Quest Calls
A microphone belongs in your setup if you record vocals, guitar, podcasts, percussion, or found sounds. A basic large-diaphragm condenser can work well for vocals in a treated or quiet room, while a dynamic microphone may reject more room noise in a less-than-perfect space. Neither choice fixes traffic outside your window or a loud air conditioner, so record in the quietest spot you have.
A pop filter, microphone stand, and XLR cable are small purchases that make recording less frustrating. So is a second set of cables. Cables are not glamorous loot, but a missing adapter can end a session faster than a bad snare sample.
You may also want an external hard drive for backups, a laptop stand for better posture, and a simple surge protector. These are not creative upgrades, yet they protect the work you spend hours making. Save projects in more than one place. Losing a track you were excited about is a brutal boss battle with no XP reward.
Build a Setup Around Your Actual Music
Genre changes what matters most. An electronic producer can begin with a laptop, DAW, headphones, and MIDI controller. A singer-songwriter may move a microphone and interface higher on the list. A guitarist needs an interface with an instrument input and may benefit from amp simulation software. A beatmaker who samples records might care more about storage, headphones, and organized sample folders than a big keyboard.
Do not buy a hardware synth just because it looks heroic in a studio tour. Software synths can teach synthesis, sound design, and arrangement without taking over your desk or budget. Hardware becomes worthwhile when its hands-on workflow solves a specific problem for you, such as making you write faster or perform more naturally.
The same rule applies to plugins. Your DAW likely includes enough instruments, EQs, compressors, reverbs, and delays to make complete songs. Learn one tool in each category before collecting ten more. Knowing why you reached for a compressor beats owning a folder full of presets you never understand.
Spend in the Right Order
If your budget is tight, spend first on the computer and DAW experience you can use consistently. Next, get solid headphones and an audio interface if you need to record or want better playback. Add a MIDI controller for faster idea-making. Then consider a microphone, monitors, room treatment, and specialty gear based on the music you actually finish.
Avoid buying everything at once. Give yourself a few weeks with each addition. You will notice what slows you down: maybe your headphones hide too much bass, maybe you need a mic for vocal hooks, or maybe your real problem is that you do not know how to turn an eight-bar loop into a song. Gear should answer evidence, not anxiety.
A useful test is simple: before adding an item to your cart, name the task it will improve. “This interface lets me record my guitar cleanly” is a reason. “Producers online say I need it” is not.
The Setup Skill Nobody Can Buy
Your workflow is part of the studio. Create a project template with your favorite drum sounds, a few ready-to-go instruments, color-coded tracks, and a basic routing setup. Keep a folder for samples you love and another for ideas you have not finished. Label projects with dates so you can see your progress instead of staring at a pile of “untitled final FINAL 3.”
Then create a repeatable practice loop. Make a drum pattern. Build an eight-bar idea. Add bass and harmony. Arrange a rough beginning, middle, and ending. Export it, even if it is messy. That is how you earn the skills that make a setup feel powerful.
SoundSurf can turn those sessions into a clearer progression path, with guided DAW lessons, ear-training quests, challenges, and achievements that reward showing up. But whether you learn there, from a mentor, or through focused self-practice, the rule stays the same: active repetition beats passive tutorial watching.
Your starter setup is not a final form. It is your first loadout. Keep it simple enough to use every day, make one small upgrade when you can explain why it matters, and let finished tracks become the proof that you are leveling up.